Zoom for meeting organizers
Your way to the first meeting...
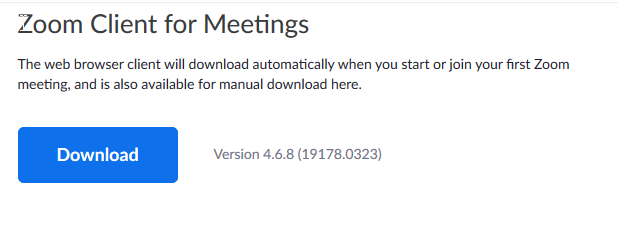
Before your first video conference, install the Zoom Client. To do so, click on the following link: https://zoom.us/download#client_4meeting
Select, download and install the Zoom Client for Meetings.
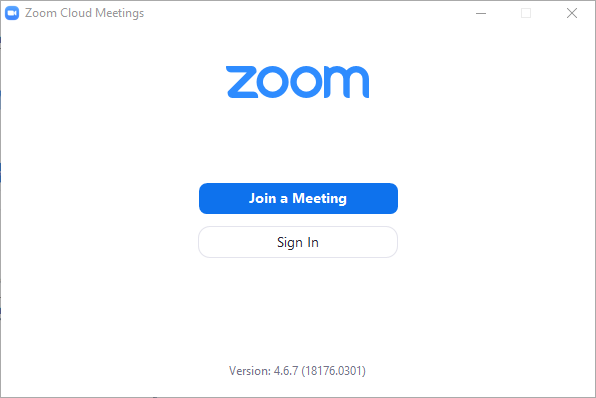
- To conduct a video conference, start Zoom.
- After the start, please click on "Login".
- Afterwards please select "Log in with SSO" on the right.
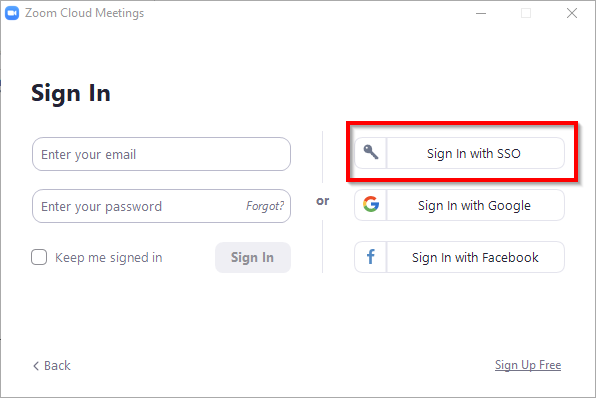
- Enter "jku" and click "Continue".

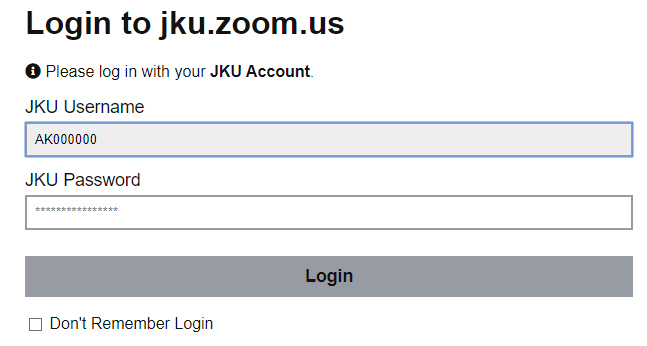
The Shibboleth login page opens in your default browser. Log in with your JKU account.
To log in to Moodle, Zoom, etc. you need to activate your JKU account for staff members once: Activate JKU Account
After logging in for the first time, you should see the following message in your browser. Please click on "Confirm your email address".


You will then receive a confirmation email to your email address containing a link to confirm. Click on this link.

Then log in again with your JKU account consisting of the JKU Username (AK number) and your JKU Password (password of your choice).
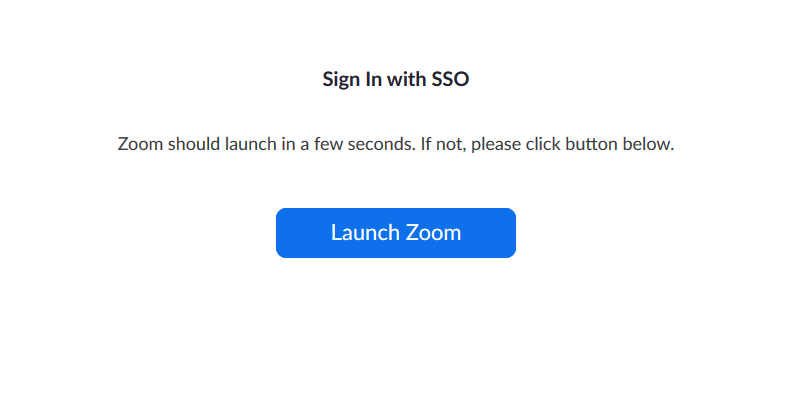
Then follow the instructions in your browser and open Zoom. This will open the Zoom-Client you have installed before.
Zoom with Linux
If under Linux the login is not possible despite correct JKU Password, edit the file
~/.config/zoomus.confand set the value of "embeddedBrowserForSSOLogin=false".
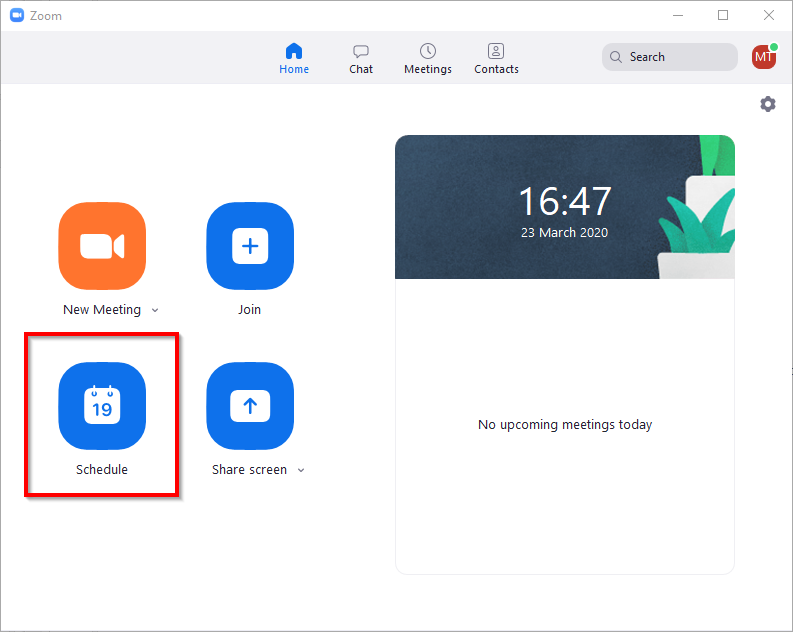
The easiest way is to plan a meeting before the class begins.
- Start Zoom-Client and and log in as described above.
- Click on the "Plan" button to open the Planning window.
- Create the following settings:
- Topic: Enter an informative title, such as the name of the class.
- Set the start, beginning and duration of the meeting.
- Video: Set "Host" to "Active" and "Participant" to "Inactive". This does not automatically start the video channel for participants attending the meeting.
- Audio: Select Computer Audio. (If you would like to be able to participate additionally by phone, select "Telephone and Computer Audio".)
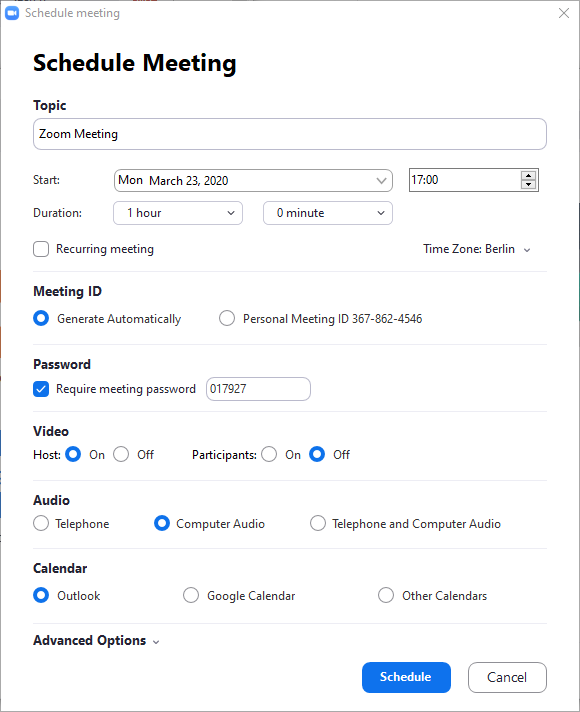
- Under "Advanced Options" check "Mute participant upon entry".
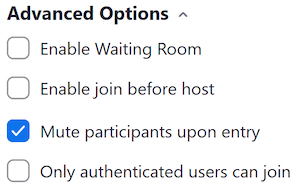
- If you want only people who are logged in with their JKU account in Zoom to join the meeting, select "Only authenticated users can join" > "Only JKU accounts".
- Click on the "Plan" button to complete the planning for the meeting.
- You will then see a summary. Please share the link and password for the meeting to those taking part in the video conference.
- Alternatively, you can copy the whole invitation text. Afterwards, you can close the window.
You can schedule a recurring meeting in Zoom, but only in the web interface and not in the Zoom client.
- Log in at https://jku.zoom.us/ with your JKU account.
- Click on "Schedule a meeting" in the upper right corner.

- There you can check the box "Recurring meeting" and have more settings options.
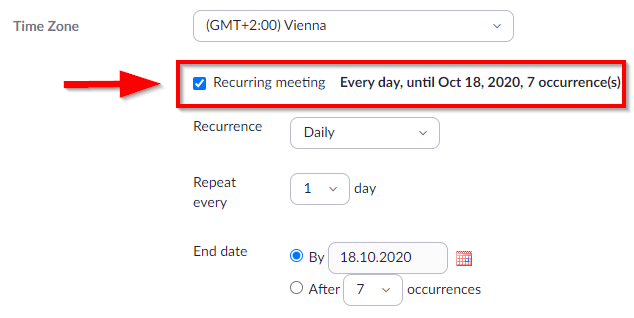
- Make the remaining settings analogous to the item "Scheduling a Video Conference (Meeting)".
- Click on "Save" below to complete the planning for the meeting.
- On the Zoom home page, the scheduled meeting appears on the right
.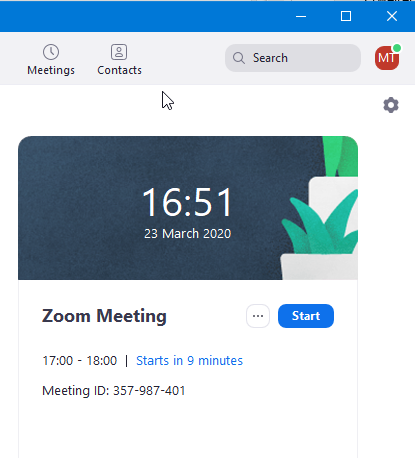
- The meeting begins once you click on "Start".
- You must then select how you want to participate in the audio conference. Select the setting "Join via audio on the computer". This allows you to use the computer’s built-in microphone, or a microphone connected to your computer, in order to speak.

- Testing your microphone beforehand is highly recommended. Select "Test Computer Audio".
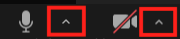
- Use the arrows to the right of the microphone and camera symbol to select the microphone (e.g. microphone integrated in the laptop) and camera source (e.g. integrated webcam).
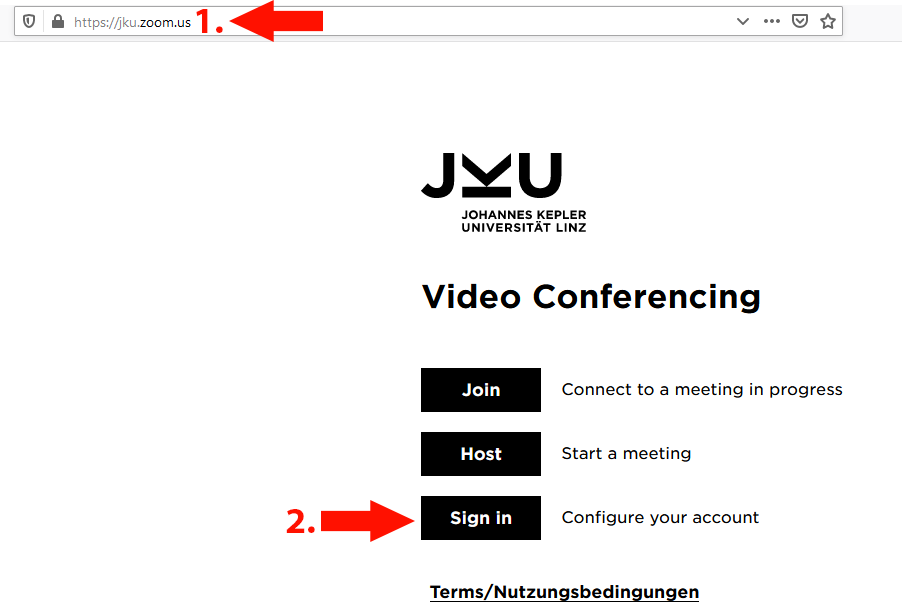
To automatically save the chat go to: jku.zoom.us and click on the button "Sign in".
Log in with your JKU Account.
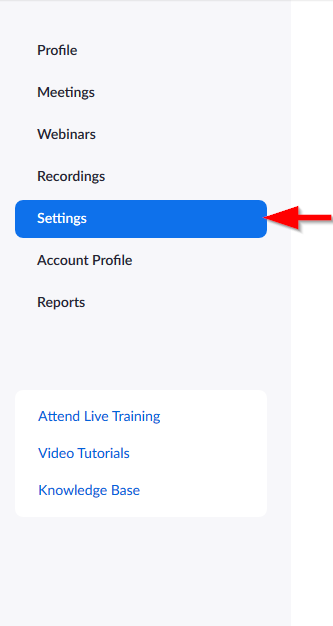
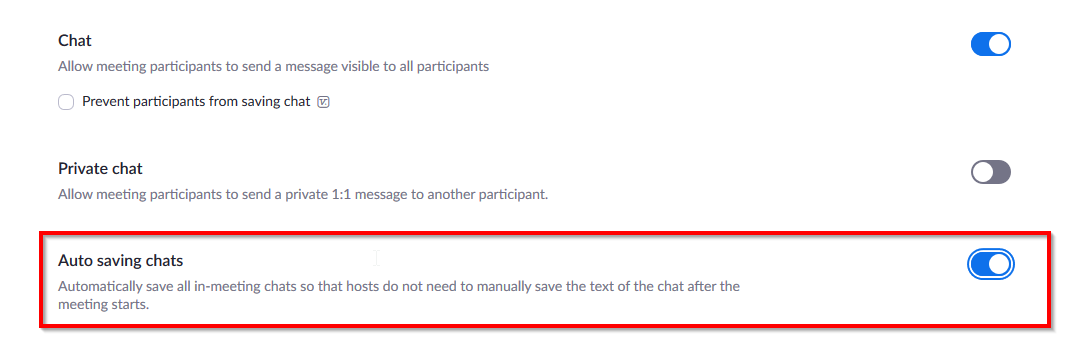
Go to "Settings" and scroll down until the find the option "Auto saving chats". This feature is disabled by default and has to be turned on by clicking the dial.
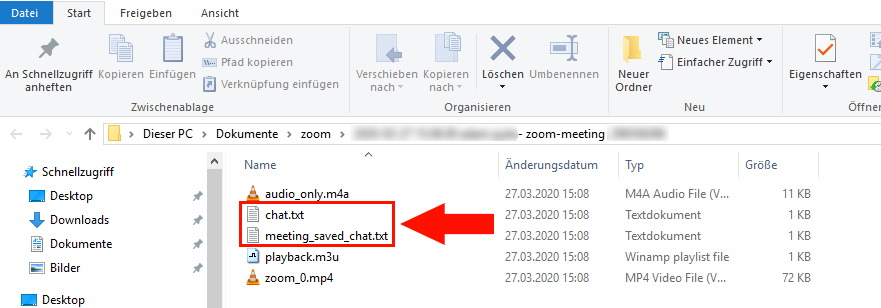
Your chats will be saved in Windows "Documents" within the folder "zoom"
You can also create a meeting directly in Moodle using the "Zoom meeting" activity.
During a meeting...
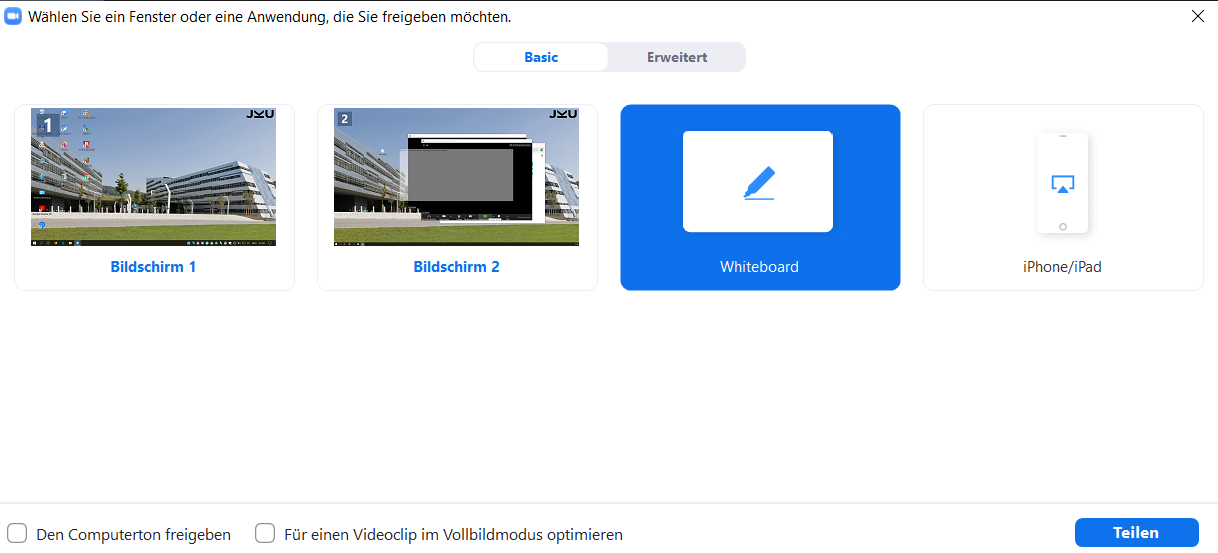
If you want to share your computer screen or a special window with participants, you can enable your screen for sharing (PowerPoint presentation, PDF files, browser, ...).
- After the meeting has started, select "Share Screen".

- You can then choose whether or not to share the entire screen or only a specific window.
- If you want to play videos or audio files, you must check the two functions "Share Computer Sound" and "Optimize for a video clip in full-screen mode".
- Confirm the setting with "Share screen".
- If you wish to stop screen sharing, click on “Stop” at the top of the screen.

- To use the whiteboard select "Share screen" during an ongoing meeting.

- Select "Whiteboard" and confirm with the "Share" button
- The Whiteboard opens:
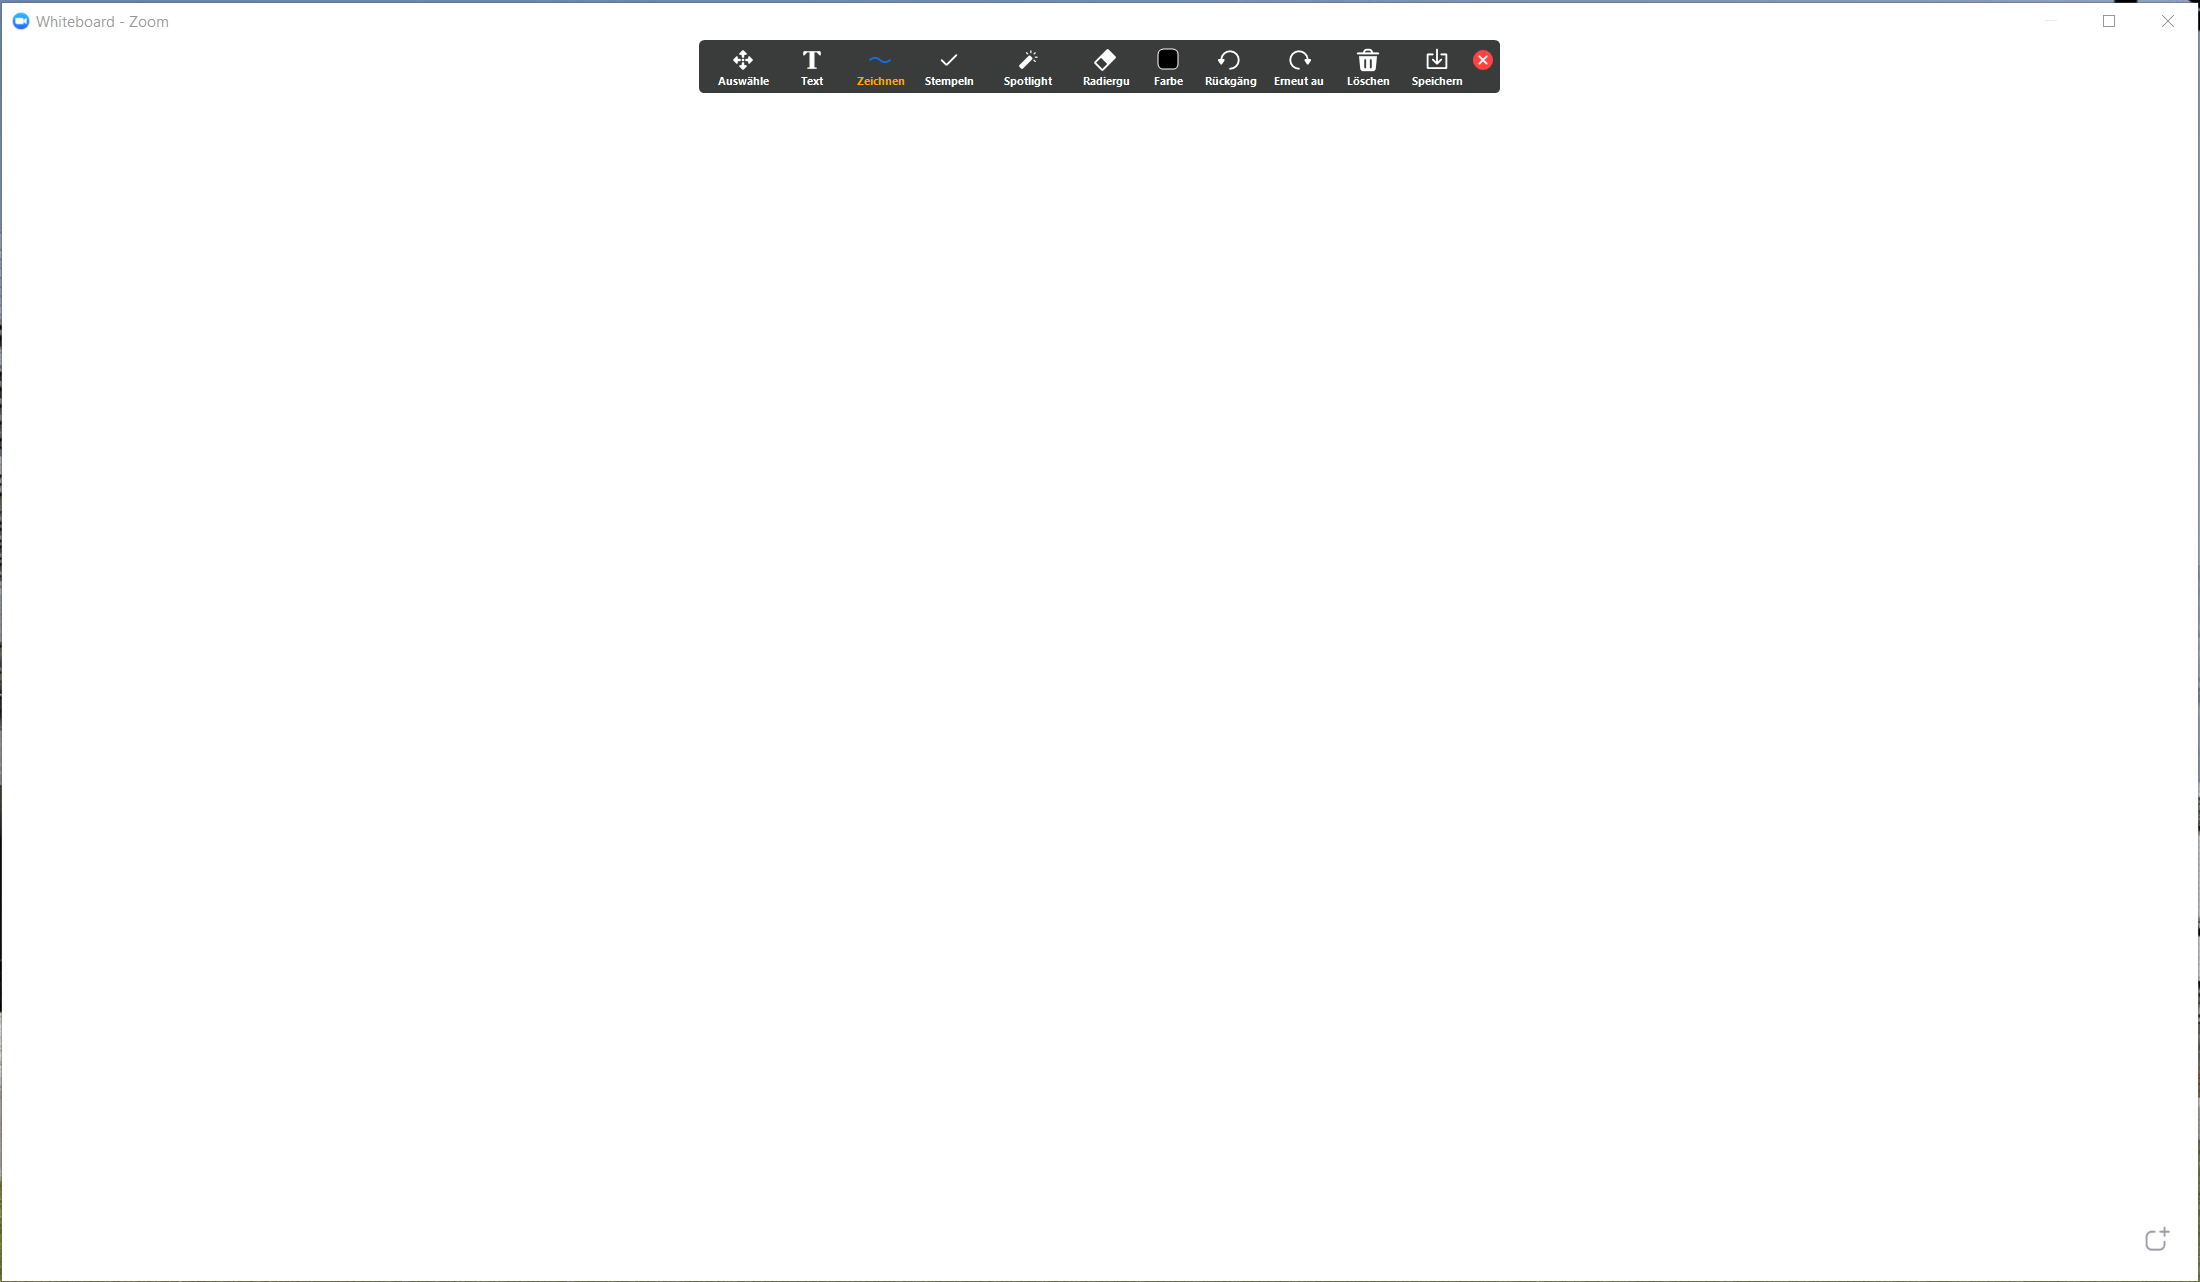
- The following options are available:

- Select: With the "Select" tool returns the mouse cursor after using the drawing tools and you allows you to move UI elements.
- Text: Click with the left mouse button in the whiteboard space to insert a field in which text can be entered.
- Drawing: The "Draw" tool offers several ways to draw freehand. Select the desired form and draw while pressing and holding the left mouse button.

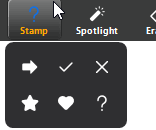
- Stamp: Insert predefined icons like a check mark or star.

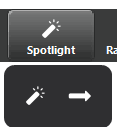
- Spotlight / Arrow: Turn your cursor into a spotlight or arrow.
- Spotlight Displays your mouse pointer to all participants. Use this to point out parts of the screen to other participants.
- Arrow: Displays a small arrow instead of your mouse pointer. Click to insert an arrow that displays your name.
- Eraser: Click and drag to erase parts of your annotation.

- Format: Change the formatting options of annotations tools like color, line width, and font.
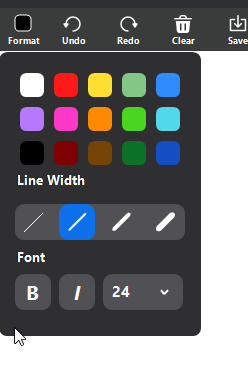
- Undo: Undo your latest annotation. Redo: Redo your latest annotation that you undid.
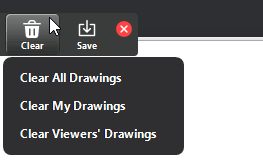
- Clear: Deletes the entire whiteboard. You can choose to only delete your or the participants' drawings
- Save: You can save your whiteboard. If Save has been selected, the following confirmations dialog box is shown.
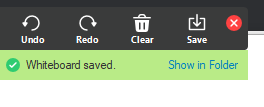
Click "Show in folder" to go directly to the whiteboard file location.
The default location for whiteboards is a folder called Zoom in Documents.
The location can be changed in the Zoom settings under Recordings > Local Recording > Location.
- To close the Whiteboard, click the "Stop Share" button

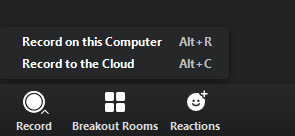
You can record your meeting on your device or in the cloud.
Click on "Record" below and select “Record to this Computer”.
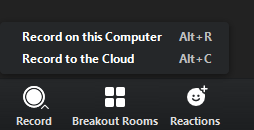
- To do so, click on the "Record" button and select "Record in the Cloud".
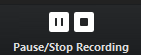
- Once you start recording, the "Record" button switches to "Pause/Stop Recording"
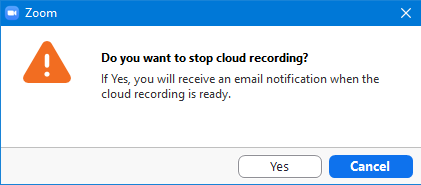
- After you have finished recording by clicking the "Stop" button, you will be prompted with the message "Do you want to stop cloud recording? Confirm with "Yes".
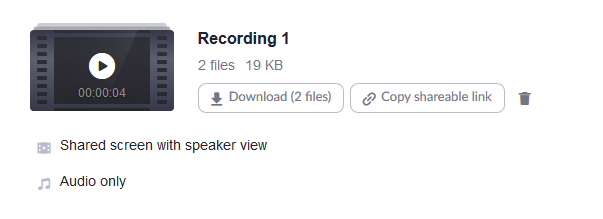
- Processing the recording takes some time. Once the recording is ready, you will be notified via email from Zoom.
- A link is included in the email. Clicking it will open a browser window with an overview of your recordings.
You can download the recording by clicking the "Download" button.
Information
JKU reserves the right to publish video conferences conducted using the cloud-based video communication service "Zoom" if necessary. If you, as a participant in the video conference, do not want your image material to be published, you can hide your image at any time in the "Zoom" application by clicking the "Stop Video" button.
If a meeting is being recorded, you will see this in the top left![]() .
.
If you wish to invite additional people during a meeting, please proceed as follows:
- Open "Manage Participants".

- Click on "Invite" below.

- You now have the possibility to send an invitation directly to contacts or via e-mail. Furthermore, you can copy the URL or the invitation to the clipboard and also forward it via other channels.

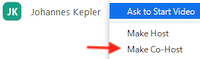
If you want to name people as co-hosts during a meeting, please proceed as follows:
- Open "Manage Participants".
- If you move the mouse over the corresponding person, click on "More".

- Finally, select "Make Co-Host".
To facilitate group work and small group discussions, "Breakout Rooms" or "Breakout Sessions" can be created.
- Click "Breakout Rooms" at the bottom of the toolbar.

- Specify how participants should be assigned to a session:
- Automatically assign: Participants are randomly assigned to sessions/rooms.
- Manually assign: You can manually assign participants to sessions (takes more time).
- Allow participants to select a room: Students are then shown multiple rooms to which they can assign themselves.
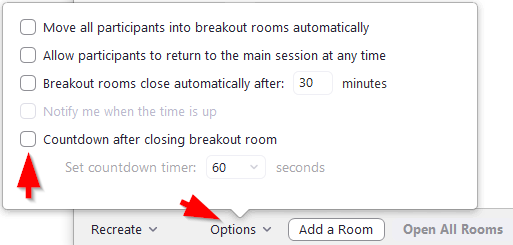
- In the next step, after clicking on "Options", you can specify various settings such as the duration of the sessions.
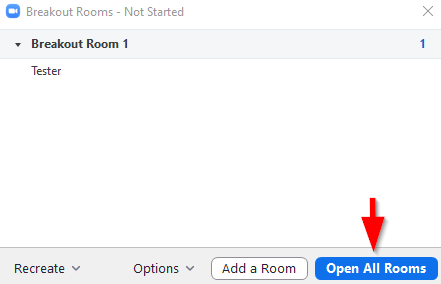
- To start click on "Open All Rooms".
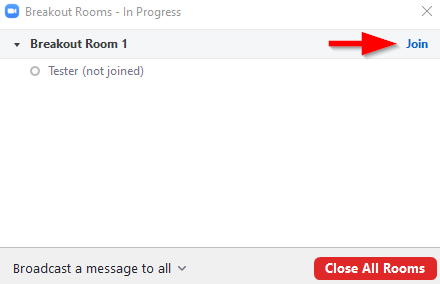
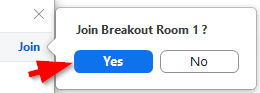
- If you want yourself to join a Room click on "Join" and subsequent confirmation with "Yes".
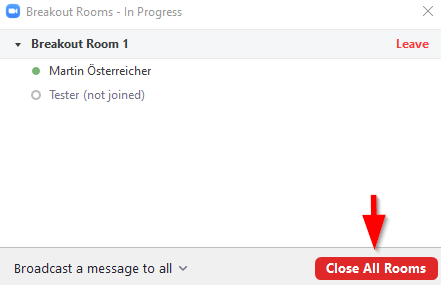
- To exit a Breakout Room click "Breakout Rooms" at the bottom of the toolbar and in the next window click "Close All Rooms".

Now you are back in the normal Zoom meeting.
Please make sure in advance that a second supervisor is present at the Zoom meeting and has been appointed as co-host.
- Click "Breakout Rooms" at the bottom of the toolbar.
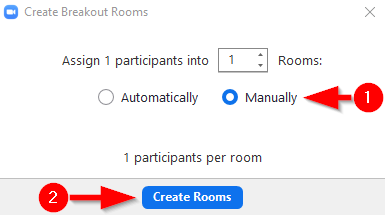
- In the next window select "Manually" (1) and click on "Create Rooms" (2).
- After clicking on "Options" you can make various settings.
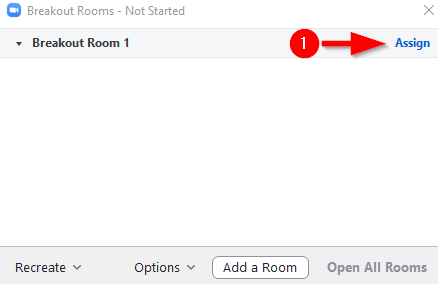
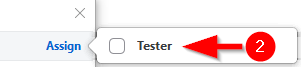
- In the next step you assign the student to be examined to breakout room 1. To do so, click on "Assign" (1) and select the desired person (2).
- Click on "Open All Rooms".
- Join breakout room 1 yourself, by clicking on "Join"
and subsequent confirmation with "Yes".
Once the student has joined the breakout room, you will be alone with this person in a meeting room. You can now have the JKU Card shown to you, request a pan with the camera through the room or a screen release. - To exit breakout room 1, click "Breakout Rooms" at the bottom of the toolbar
and in the next window click "Close All Rooms".
Now you are back in the normal Zoom meeting. - If you want to check the next student, please click on "Breakout Room" (1) again and in the next window click on "1" (2) and select another person.

To end your meeting, click on "End Meeting" at the bottom right.
A new window will then open; select “End the Meeting for Everyone”.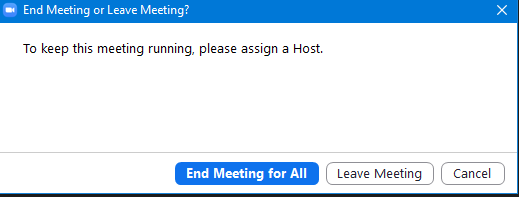
Record slides and sound with Zoom ...
How do I change my profile picture on zoom?
- Open
jku.zoom.us and select "Sign in".
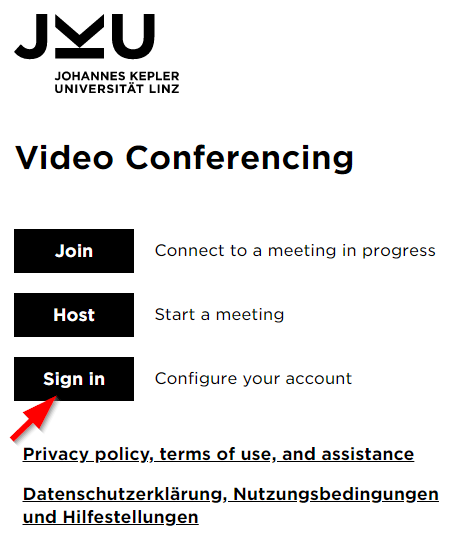
- Afterwards log in to the Shibboleth with your JKU Account.
- Open the Zoom-Client and log in as usual via SSO.
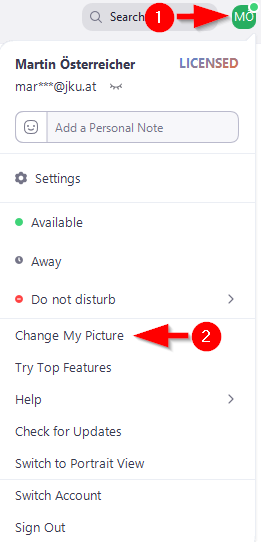
- Click on your initials at the top right (1) and then further down on "Change My Picture" (2).
- Afterwards your web browser will open where you have to login to the Shibboleth with your JKU Account.
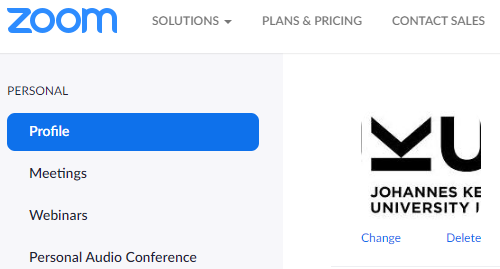
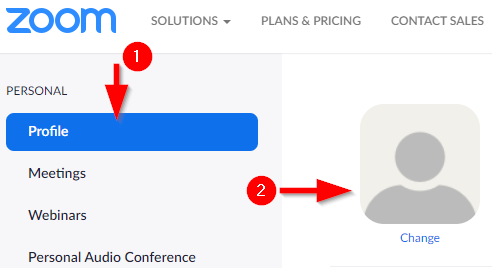
- Go to "Profile" (1) on the left under "Personal". Then click on "Change" or the picture (2) in the new view on the top left of your name.
- Click on "Upload" in the new window and then select a new profile picture.
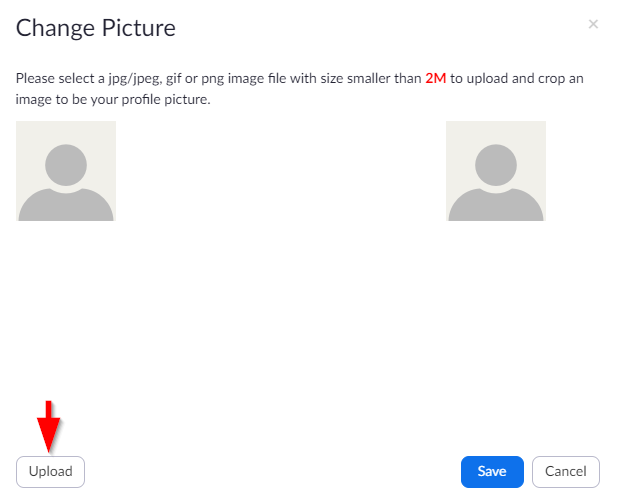
- In the next step, select a region of the previously uploaded image. On the right you can see how your new profile picture will look like. Click on "Save" when you are finished.

- You will then see your new profile picture in the overview.