Zoom
With the activity "Zoom meeting" it is possible to create a Zoom Meeting directly in Moodle.
More information regarding Zoom: Zoom video conferences
Planning a video conference (meeting) in Moodle
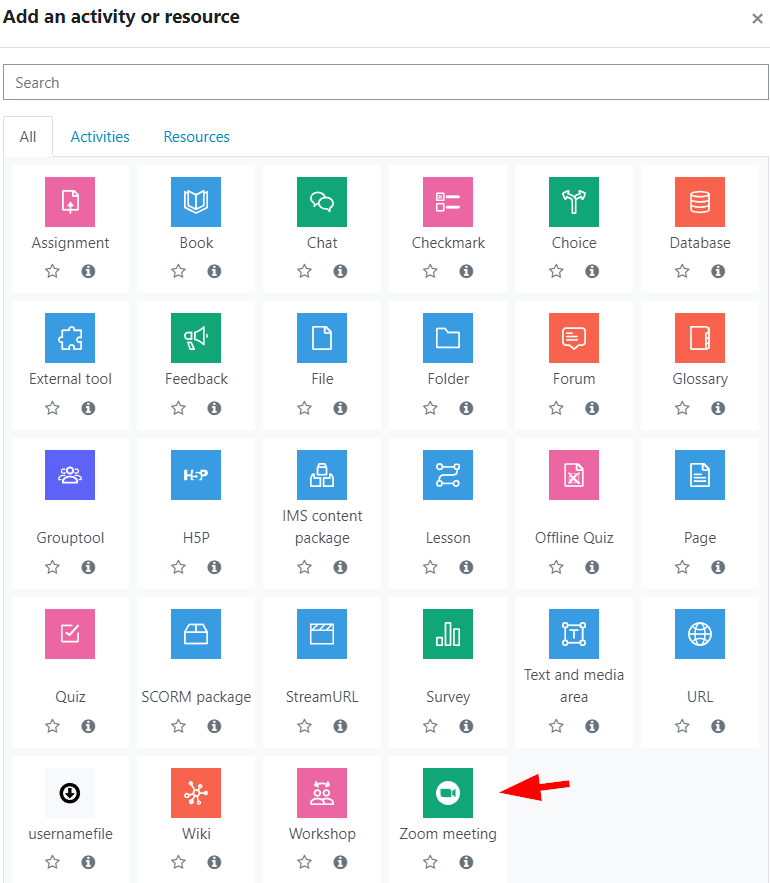
Create a "Zoom Meeting" activity in your Moodle course.
It may be necessary to log in to Zoom for the first time via SSO.
- Now there are various setting options analogous to creating a meeting in the Zoom-Client.


- Title: Enter an informative title, such as the name of the class.
- Description: Can be displayed in Moodle, but is not absolutely necessary.
- Opencast video: If you do not have an "Opencast Videos" block in your course, then this option is not clickable and will not be used.
If you have an "Opencast Videos" block in your course, then this option is active by default and "M-" plus the course ID is automatically placed at the beginning of the title after saving. If you start a cloud recording later in the Zoom meeting, this will automatically make the recording available in the "Opencast Videos" block after processing in Zoom. If you want to pause the recording of the meeting, please use the "Pause Recording" function so that all parts of the recording are available in the "Opencast Videos" block later. - When: Please enter the beginning of the meeting.
- Duration: How long is the meeting expected to last?
- Recurring meeting: Please tick only if there is no specific date for this meeting or if the room should always be used when needed. If this option is activated, the meeting has no closing time and no ending date.
- Require registration: This allows you to require participants to register before entering.
- Breakout rooms: Here you may define breakout rooms in advance.
- Passcode: A meeting passcode must be defined.
- Set passcode: Enter a password.
- Waiting room: Should there be a waiting room in the meeting?
- Join before host: Should it be possible to join before host?
- Authentication: Should access be restricted to authenticated users? Authenticated means that participants must log in to Zoom before joining.
- Host video: Should the host appear with video after joining the meeting? If this option is activated, the host's video will be switched on automatically. If you deactivate this option, you can still activate the video at any time.
- Participants video: Should the participants be shown with video after joining the meeting?
- Audio options: How should the participants be able to attend the meeting?
- Audio default: Automatically mute participants when they enter?
- Alternative Hosts do not have to be selected. You will find an explanation after clicking on the
 . These people must have logged in to Zoom at least once.
- Finally, please click on one of the two save buttons
 .
.
Start a video conference (meeting) in Moodle
You can start a Zoom meeting created via Moodle directly from Moodle (or also via the Zoom-Client → Zoom for meeting organizers).
Please allow enough time for the first Zoom meeting, as the installation of the Zoom-Client takes some time. You will find out how to install it in step 5 of these instructions.
The Zoom Meeting can be started from 15 minutes before the start.
Click on your already created meeting in the course view (as described in the previous step).

- You can now start the meeting by clicking on "Start Meeting" or the "Join link" and will be forwarded to Zoom.

The installation of the Zoom-Client is normally suggested directly when opening the link to participate in the meeting (at the bottom) and can be carried out immediately.
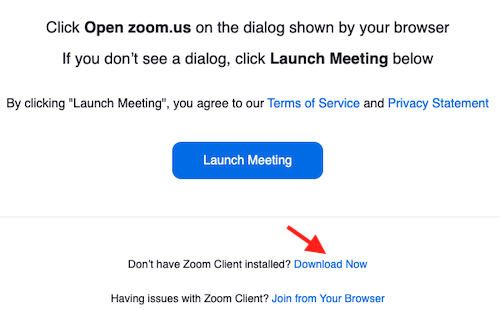
- You can also go directly to the following link, select Zoo-Client for meetings, download and install: https://zoom.us/download#client_4meeting

Once the client has been installed, the browser will try to open the Zoom-Client after clicking on "Start Meeting" or the "Join link". Please click on "Open" here to start the Zoom meeting. Depending on the browser, there may be different wording here.
Synchronization with Zoom
Zoom meetings that you have created in Moodle are also displayed in the Zoom-Client. Any changes you make there will be synchronized into Moodle. However, it can take up to 45 minutes.
If you delete meetings in the Zoom-Client, the activity in Moodle is not automatically removed. In this case an error message will be displayed in Moodle. It is best to delete meetings directly in Moodle.
- Open your Moodle course
- Select top right "Edit mode".
- Click next to your meeting on
 > Delete.
If you delete meetings in Moodle that would have been scheduled in the future, you may receive an automated email with info that the DLLS department (dlls@jku.at) has cancelled the meeting.
If you want to change the title or topic of the meeting, please proceed as follows so that the change is synchronized in Zoom:
- Click on the created meeting in Moodle.
- Click on "Settings" at the top of the menu bar and change the "Topic".
- Finally click on "Save and return to course" or "Save and display".
"All meetings" and "Sessions"
After clicking on a meeting, you can open "All meetings".

Under "New Meetings" you will see all meetings of this Moodle course that are recurring, planned in the future or currently taking place. Under "Concluded Meetings" you will see all meetings that are in the past.

If you select "Sessions" in this window or directly after clicking on a meeting, you will see all meetings that were held via this meeting activity. However, there is no guarantee of completeness.

If you click on the number in the column "Participants" you will find a list of all participants in the meeting.
Please note that there is no guarantee of completeness here either.
View for students
... in the course view.

... after clicking on a zoom meeting, if it has not yet started.

... after clicking on a zoom meeting, when a meeting has started.

After clicking on "Join Meeting" a new browser window opens and the students are redirected to Zoom. On mobile devices, the Zoom App is necessary in any case.
From here on there is no difference whether the meeting was created in Moodle or in the Zoom-Client.