LimeSurvey online surveys
LimeSurvey is a tool for online surveys. You can use it to quickly and easily develop questionnaires and carry out online surveys. LimeSurvey is available to JKU staff and students on JKU servers free of charge.
Entry Links
survey.jku.at Public JKU LimeSurvey page with a list of publicly visible surveys
survey.jku.at/login Log-in page
Access
According to the Terms of Use, access to JKU LimeSurvey is only available to employees and students of the JKU (for the duration of their work at the JKU or their studies).
A user account is required to use JKU LimeSurvey. In order to obtain this, you must accept the Terms of Use when you log in for the first time.

Short Guide
1. Log in
After you have accepted the Terms of Use, you can log in as usual with your JKU Account .
2. Create survey
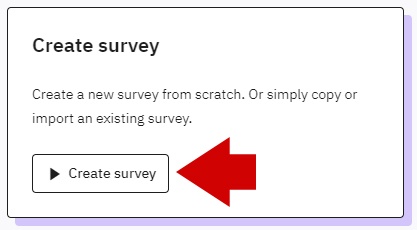
To create a new survey, click on Create survey. You will be shown the page create, import or copy survey. All you need to do - to create a survey - is to assign a survey title and then click the Save button at the top right or Create Survey at the bottom.
3. Add question group
By default, a question group with an example question is created for you. You can rename both the sample question and group as you wish.
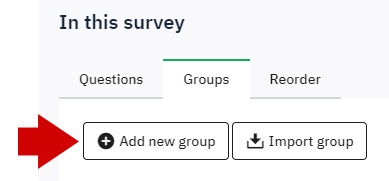
To create a new question group, click on the left in the Survey menu block on Overview questions & groups > Groups > Add new group.
Each survey must contain at least one question group and question groups may not be empty for the survey preview or beginning of the survey.
4. Add Question to a Question group
On the left side of the Settings block, click Overview questions & groups > Groups and then click the three dots at the corresponding group and select Add new question to this group from the dropdown.
Code: The question code serves to identify the question during the export/evaluation. Consider your question codes carefully. A clear code structure makes evaluation easier and helps to avoid incorrect interpretations.
- Question Type: LimeSurvey offers many question types with matching answer options. Choose the right type for your question. Examples: yes/no, 5 point selection, matrix, short free text, multiple choice.
Question: Enter your question here precisely. There is a help text field for explanations.
Depending on the question type, you have the option to edit or add answer options below. Each answer option comes with an answer code. This has an important role in the further processing of the data. The answer code can consist of letters and digits, the single digit zero is not allowed.
Additionally, conditions can be defined for your questions to control their visibility and order. To do this, click on the three dots next to a question and then select Condition Designer from the dropdown.
An overview of possible question types and many more tips can be found in the official LimeSurvey documentation.
5. Survey Settings
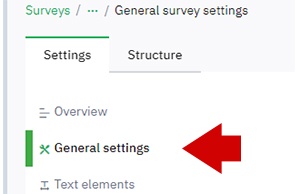
General settings
Administrator: Here, you should enter the name of the main person responsible for the survey. This name will be given as the contact person in invitation emails.
Administrator email address: Here, you should enter the email address for the main person responsible. This will be provided as the response address for all sent emails.
Format:
Question by question: Each question will be shown on a new page.
Group by group: All questions under one group will be shown on one page.
All on one: All questions will be shown on a single page.
Inherit: The system-wide default setting is applied. If this is changed system-wide, it will also affect your survey.
Text elements
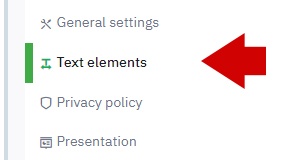
Survey title: Title example: Study on 'Conscious Shopping'.
Description: Description text example: ‘A study examining shopping behaviour in consumers in terms of ethical and health-related purchase motives’.
Presentation
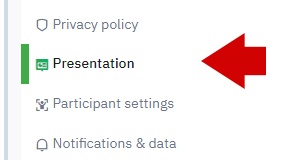
Here, you can define how your survey will be presented later on. Go through this section in order and choose your desired options. You can also define and change these settings later.
6. Test survey

You can test the survey at any time. Click on Preview survey at the top.
7. Activate survey

As soon as the survey is complete and has been tested, you can begin the survey by clicking on ‘Activate this survey’. If the symbol isn’t visible in the survey bar, the survey cannot be activated in its current form or you are not under the ‘Settings’ tab on the left-hand side.
Only activate the survey if you’re sure that no more changes will have to be made to the content.
Once the survey has been activated, no groups, questions or answers may be added or removed. If you need to do so, you must deactivate the survey using the Stop this survey button ![]() .
.
8. View results
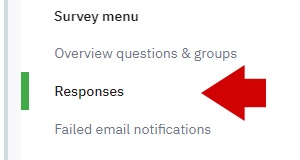
Once answers have been entered, you can view, process, export and delete them. These actions are possible by clicking on Responses at the left under Survey menu .
9. End survey
There are two ways to end a survey:
- Manually by clicking Stop this survey (see ‘7. activate survey’).

- Automatically, by allowing the survey to expire. To do this, enter an expiration date in the Expiry date/time field under Publishing & access in the survey settings.

Make sure that your survey has expired and back up all your data if required.
Survey permissions
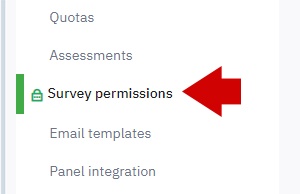
Click on Survey Permissions and now select the LimeSurvey user who should be granted permission for your survey - you can also use the handy search field for this - then click on Add user.

Once added, the LimeSurvey user will appear in the list of authorized users and will only have the right to view your survey.
Click on the three dots and select Edit permissions to adjust the permissions accordingly.

On the following page you can adjust and save all permissions.
If someone should be able to participate in the survey on an equal level, you should grant them all rights.

Remember to transfer the rights to use your surveys to a team member or team leadership before your employment ends.
Additional links
- LimeSurvey documentation
- LimeSurvey demo version (not hosted or operated by JKU)
Tips and tricks
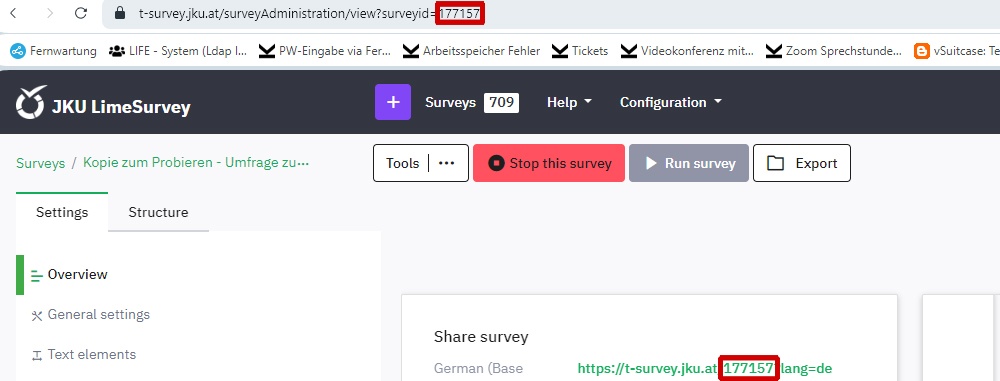
The SurveyID can be found in the link after a survey has been selected or in the survey’s title. Swapping these IDs within a URL is a quick way to swap between surveys.
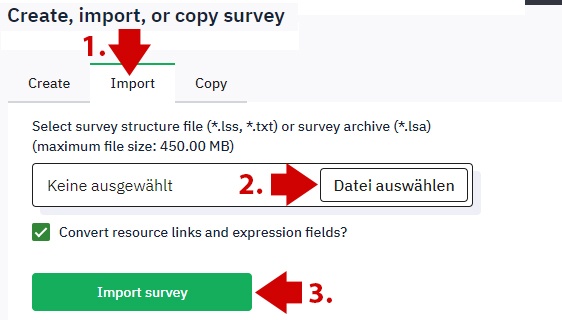
Log in to JKU LimeSurvey and click on the Create survey button.

Now head to the Import tab, select the already exported file and click on Import survey.
Please do not change any answer codes for an active survey.
Any retroactive changes can lead to significant problems with any later exports and some data may be lost / not exported.
When you create an anonymous survey with a participant list, the setting that sends confirmation emails is still active. This can worry some participants and should therefore be deactivated.

If you import survey participants from a CSV file, it’s important that the right encoding is allocated to the file. Otherwise, the system may simply show an error report.
If you have set a start date for your survey, please note that this does not mean that the survey will go live on this date without active involvement from you.
Contact
For your safety and the health and safety of others, please adhere to the following COVID-19 safety regulations. Maintain your distance of 2 meters. Wear a face mask. Enter one at a time. Thank you for your cooperation!
Information Management service portal
Please submit your inquiries via our IT service portal: help.jku.at/im-servicedesk
Contact Information Service Desk
servicedesk@jku.at
+43 732 2468 1111

Service hours
Monday - Thursday
08:30 - 12:00 and 13:00 - 15:00
Friday
08:30 - 12:00